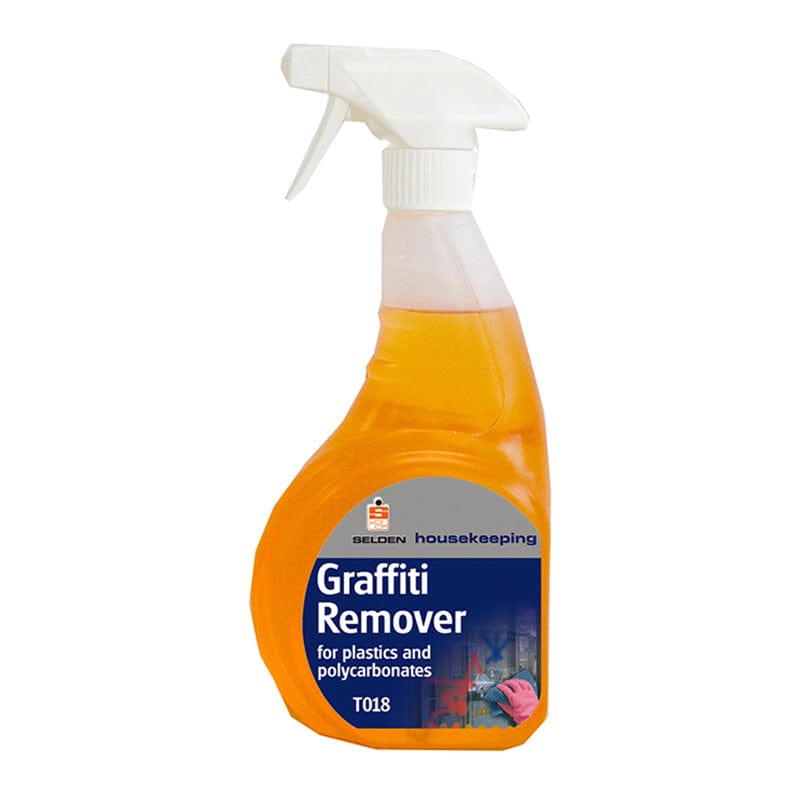
Graffiti Removal: A Guide
Whilst there's some artistic graffiti pieces out there, unfortunately not everyone's Banksy.
It's a common problem business owners and local councils have to face and remove graffiti from surfaces that belong to them in order for their promises to look clean and professional.
However, it's not always easy, and can present a number of problems. When tackling graffiti, the removal of dirt and heavy soilage from the affected surfaces without damaging it and leaving it as clean and dry as possible.
Our guide below provides a step-by-step approach to managing graffiti as well as suggest cleaning products and PPE supplies in order to tackle the task.


Equipment needed:
- Pressure washer or x2 buckets and cloths
- Graffiti removal solution
- Abrasive pads
- Mopping system
- Spray bottle
- Protective covers for other furniture and surfaces
- PPE - some of the materials and products involved can be harmful to you. Look to use protective gloves, safety shoes and safety goggles (if identified on risk assessment).
Graffiti Removal: The Steps
Following these steps should make saying to goodbye to the unwanted art that little easier.
1. Put on your protective gloves, shoes and goggles.
2. Assemble the equipment you'll be using and check each item for its safety.
3. Place adequate warning signs out, cover any plugs or sockets and put out dust sheets (if applicable).
4. If using the bucket method, prepare the cleaning solution according to manufacturer’s instructions (adding agent to water) and then fill a bucket with clean water.
4b. Apply cleaning solution to marked surface, allow contact time, then scrub with abrasive pads, wash off and rinse with clean water.
For more information on graffiti removal and the products available to address it, contact us today.


